Commercial Dishwasher Repair Safety & Operational Notes
Commercial dishwashers are high-load catering equipment with high voltage and water pressure. Non-standard repairs may cause safety accidents, equipment damage and long downtime. This document summarizes core standardized safety and operational precautions for commercial dishwasher maintenance to ensure personal safety, stable equipment performance and prolonged service life.
1. Pre-Repair Preparation & Safety Precautions
Safety is the top priority for dishwasher repair. Complete full pre-maintenance preparations to eliminate hidden risks before disassembly and troubleshooting.
1.1 Power and Water Source Isolation
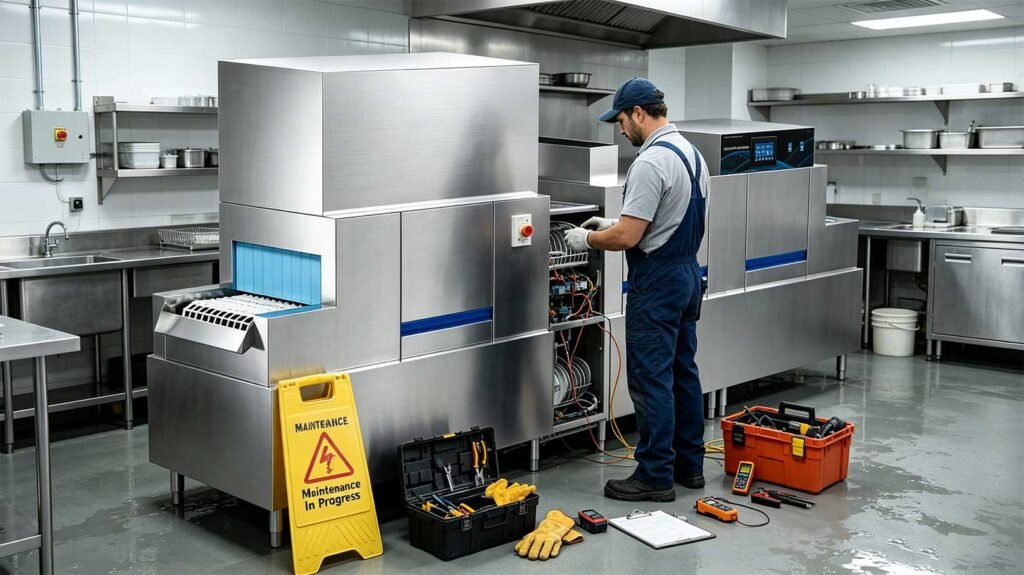
Fully cut off the main power and circuit breaker, and post a “Maintenance In Progress” warning sign to prevent accidental power-on. Never perform live disassembly, wiring or part replacement. Turn off the water inlet valve and drain all residual water from the tank, pipes and pump to avoid short circuits and electric shock. For steam-heated models, shut off the steam valve and release all internal pressure before repair to prevent scalding.
1.2 On-site Inspection and Environment Sorting
Clean up surrounding obstacles and ensure a dry, safe working area. Inspect external conditions first for leakage, shell damage, wire aging and abnormal noise. Record equipment information and user feedback to quickly locate faults. Avoid direct contact with high-temperature internal components to prevent scalds.
1.3 Tool and Accessory Preparation
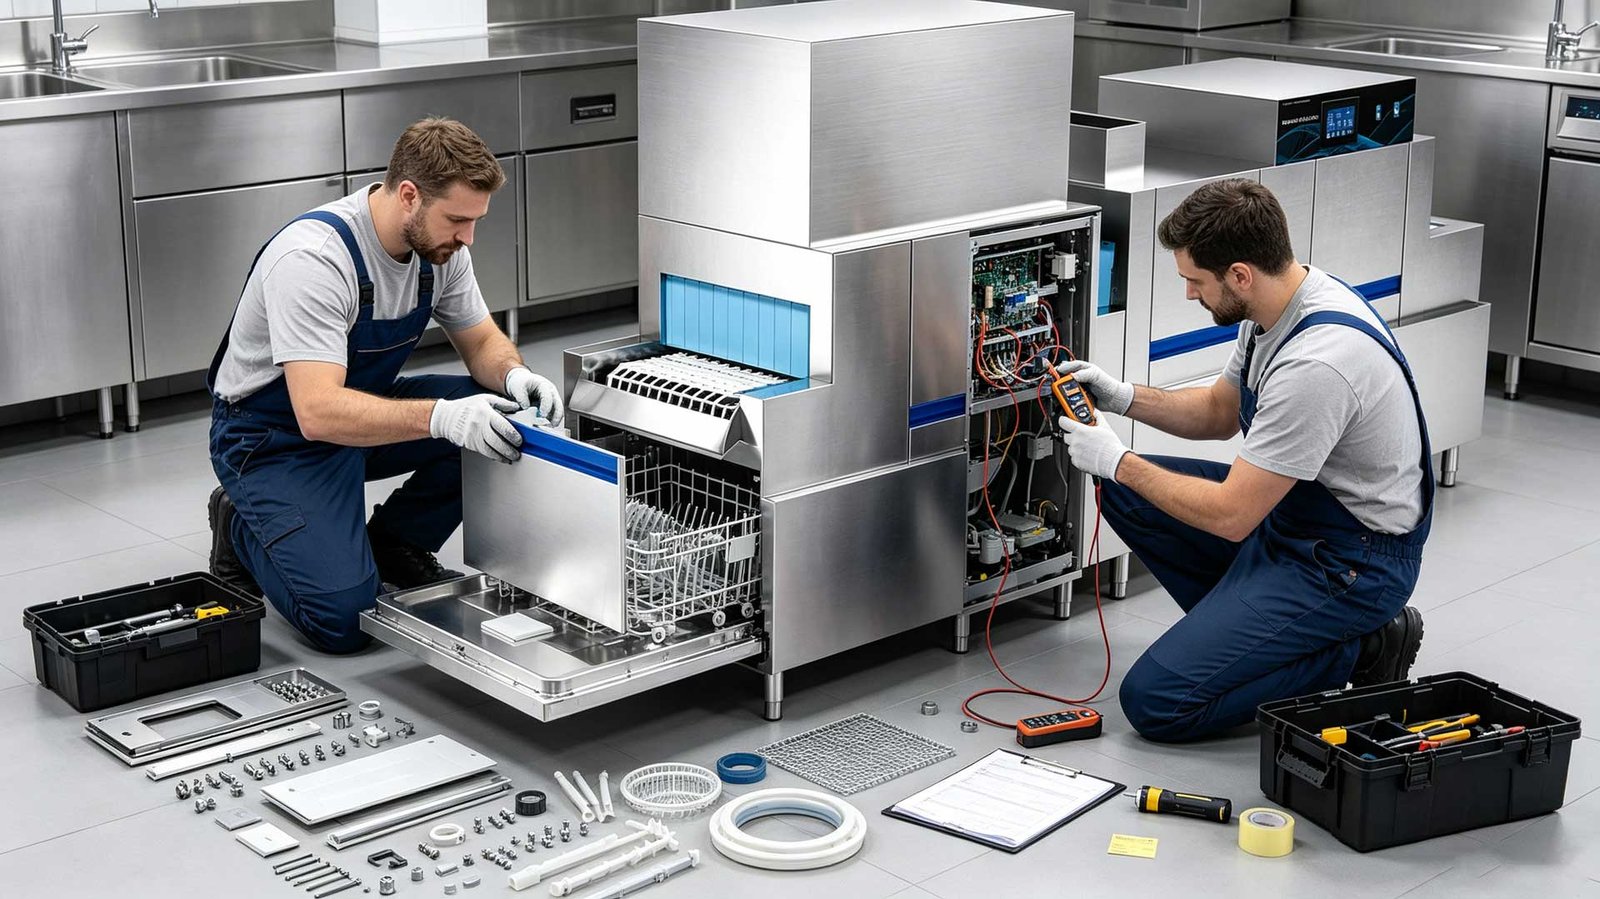
Prepare complete maintenance tools including screwdrivers, wrenches and multimeters. Use original or model-matching parts for core components like pumps, heating elements and control boards; never use unqualified makeshift parts. Prepare sealing and cleaning supplies for post-repair assembly.
2. In-Repair Standard Operating Specifications
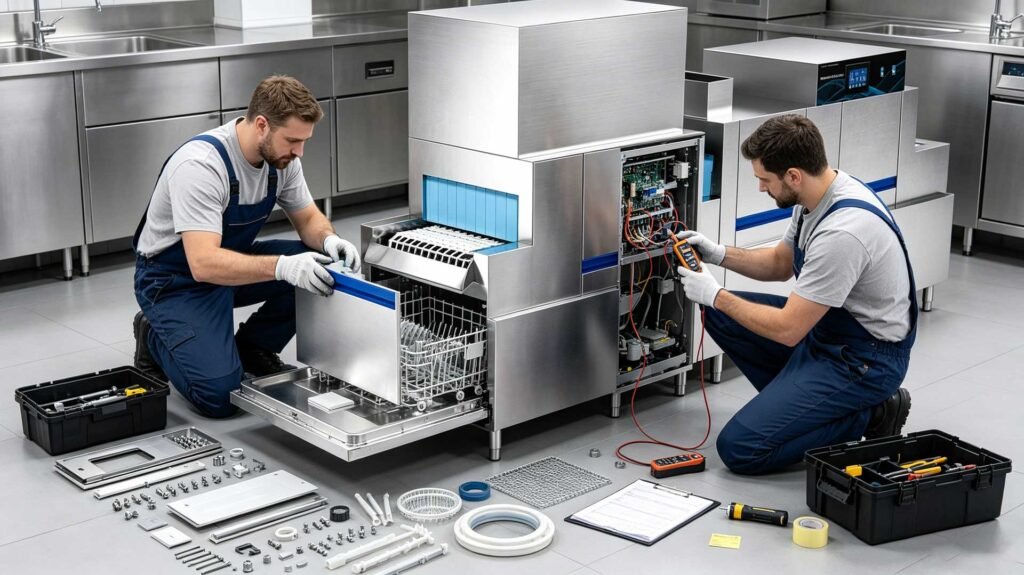
Follow standardized procedures during disassembly, troubleshooting and repair to avoid manual damage and ensure accurate maintenance results.
2.1 Standard Disassembly and Marking
Disassemble parts from external to internal, simple to complex. Mark and classify wires, pipes and small fasteners to avoid misinstallation and wiring errors. Do not alter original circuit sequences randomly. Handle spray arms, filters and tank components gently to prevent deformation.
2.2 Scientific Fault Troubleshooting
Troubleshoot from simple to complex, external to internal. First check common vulnerable issues: clogged filters/spray arms, blocked pipes and aging seals. Test sensors, solenoid valves and pumps with a multimeter if no obvious faults exist. Avoid blind disassembly of core parts like control boards and motors. Replicate daily operating conditions to eliminate intermittent faults thoroughly.
2.3 Component Replacement and Repair Standards
Clean dirt and scale from mounting positions before replacing parts. Replace all aging, cracked gaskets and door seals to prevent leakage. Securely install pumps, heating pipes and power components to reduce vibration and noise. Inspect circuits strictly after electrical part replacement to rule out short circuits and loose connections.
2.4 Anti-corrosion and Leakage Prevention Treatment
Remove scale and rust from stainless steel tanks and metal parts. Apply anti-rust grease to joints and movable components for long-term corrosion resistance. Reinforce pipe thread sealing with waterproof tape and check all interfaces for zero leakage after repair.
3. Key Notes for Common Fault Maintenance
Adopt targeted operations for common faults to ensure effective repair and avoid recurring problems.
- Water inlet & drainage faults: Clean clogged inlet filters and faulty water valves. Straighten blocked or bent drain pipes and inspect drain pump conditions to prevent backflow and poor drainage.
- Heating & temperature faults: Replace damaged heating pipes and faulty temperature sensors. Test heating uniformity after replacement and calibrate probes regularly to guarantee stable disinfection temperature.
- Abnormal noise & vibration: Remove foreign objects inside the pump, fasten loose bolts and replace worn motor bearings. Ensure the machine is placed horizontally to reduce operational vibration.
- Control system faults: Check voltage stability and loose wires first for screen failure, key malfunction or program disorder. Avoid random disassembly of control boards; test full program operation after confirmed replacement.
4. Post-Repair Debugging and Acceptance Specifications
Complete standardized assembly, cleaning and trial debugging after repair to ensure full functional recovery.
4.1 Assembly and Cleaning
Reassemble components in reverse disassembly order with all screws fastened and pipes neatly arranged. Thoroughly clean the tank, spray arms and filters to remove residual dirt and maintenance debris.
4.2 Power-on and Water Test Debugging
Restore water and power supply, and check for leakage and circuit abnormalities first. Run a full functional test including water inlet, heating, spraying and drainage for no less than 15 minutes. Verify stable water pressure, normal temperature rise, tight door sealing and zero abnormal noise.
4.3 Fault Confirmation and Record
Test under high-load working conditions to confirm faults are fully eliminated. Record repair details including fault causes, replaced parts and operating status for future maintenance reference.
5. Daily Maintenance and Risk Prevention After Repair
Inform users of daily maintenance rules: clean filters and spray arms daily, drain residual water, and regularly check pipe seals and wire conditions. Avoid long-term overloaded operation and arrange regular comprehensive maintenance to lower failure rates and extend equipment life.
6. Special Safety Prohibitions
- Only professional technicians can repair high-voltage and electrical control systems.
- Never use flammable or corrosive cleaners on electrical components.
- Do not arbitrarily modify original equipment circuits and pipe structures.
- Stop operation immediately if water leakage or circuit faults occur to avoid electric shock and equipment burnout.